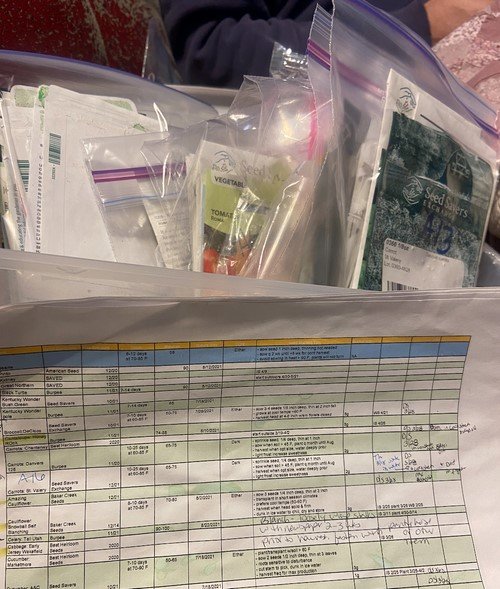
Seed starting
In the last couple years we’ve upped our game with starting seeds. We started with a shelf and a shop light. We then got legit grow lights and eventually heat mats. Granted this is all on a VERY small scale but we like the increase in success we’ve seen. Be sure to check out our gallery of pictures at the end of the post.
Supply List
Seed tray We prefer the ones that come with the clear plastic dome. This dome acts like a mini greenhouse. This seed tray will hold your seed plugs which will have the actual seed starter and seeds. The seed tray will collect any moisture and helps to keep the seedlings from drying out
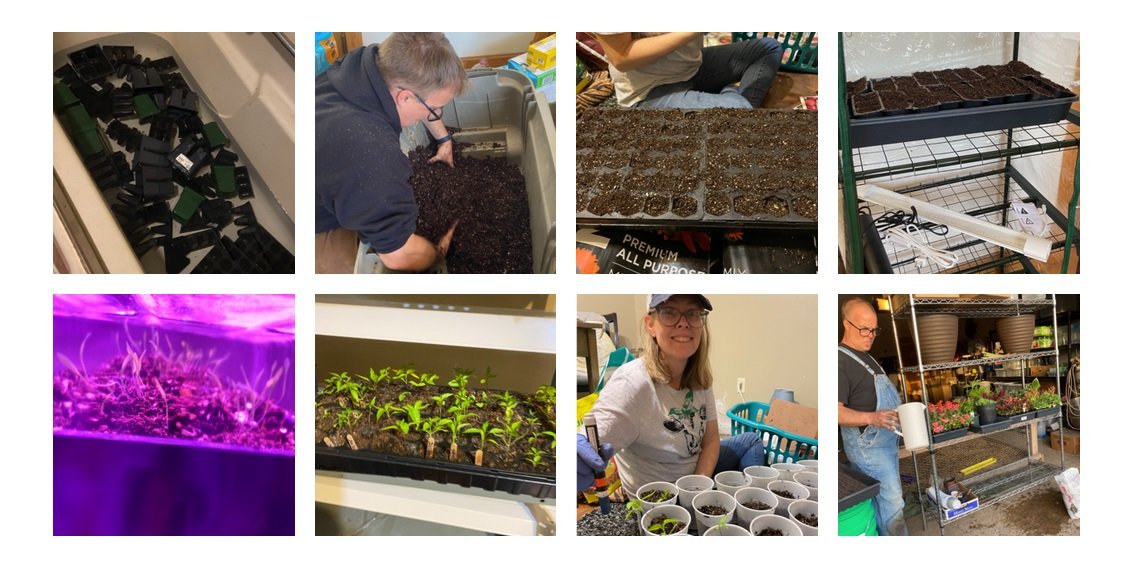
Seedling cell containers (we wash and sanitize ours before planting because we store them in an out building with lots of critters. This helps to minimize anything that might interfere with our seed success)
Seed starting mix
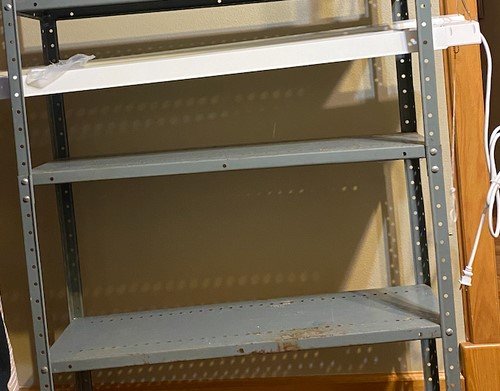
Seed heat mat (optional)
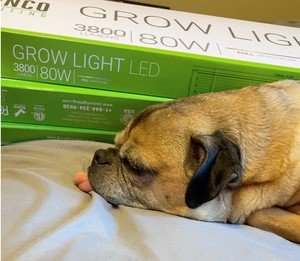
Full spectrum grow lights (optional but they’re really a game changer)
Something to mark your plants. We have had success with paint pens and popsicle sticks or cut up pieces of plastic
Spray bottle of water
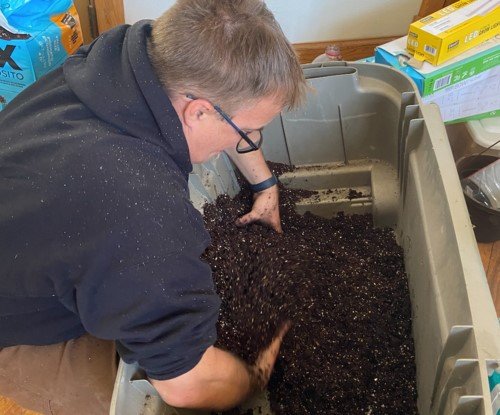
A larger container to mix seed starter and water
Water (warm)
Directions
Collect all your supplies
In the large container mix your seed starter mix with water. You want it to be moist, but not wet
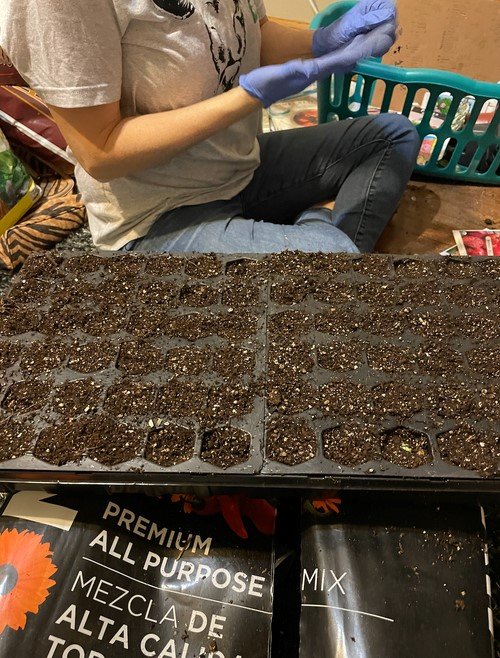
Fill your seed plugs with seed starter mix. Lightly push down in each cell to make sure there is even seed mix in all the wells. You aren’t looking to pack it in, just to make sure it is full. When they are full, place the cells in the seed tray.
According to the seed packet, place 1-2 seeds in each cell. The depth is specified on the seed packet. When you get the seeds planted spray the surface with water to moisten it
Make sure you mark your cells so you know what you planted
After you are all planted and marked, place your seed tray on the heat mat and place the dome on it
Every few days check to see if the seedlings have sprouted. Things like Rosemary and Peppers take FOREVER (not really but it seems like it).
Check your seedlings daily for water. The seed tray makes it really easy to water from underneath. You can add water to the bottom and the soil will wick the water up.
Once they start to sprout you can vent the lid and turn on the grow lights. When the seedlings are very small they need a lot of light. We have our lights very close to the seedlings and move them farther away from the seedlings as they get bigger and stronger. You’ll want to turn your lights off overnight to mimic nature
When your seedlings have grown 2 sets of true leaves you can thin out any cells that are growing more than one plant. This is usually the time when you would take the lid off as well
Last year we started fertilizing seedlings with a fish emulsification. We did this once a week and followed the directions on the bottle.
When your seedlings get too big for their current accommodations you can move them to a bigger cell and add more seed start mix.
A few weeks before the last frost date (in Iowa we usually target Mother’s Day weekend as our last frost date for planting) you can start hardening off your plants. This means taking them outside for a few hours in the shade to start then slowly increasing the amount of time and sunlight your plants are getting. You are trying to get them used to being in the elements.
When its time to plant, you can plant them like any other seeding. Dig your spot in the garden, place the root ball in, and water well!